How to Use Suica/PASMO, IC cards, and Mobile Wallets
Japan’s rechargeable IC cards make trains, subways, buses, vending machines, coin lockers, and even konbini payments fast and easy. This guide shows exactly how to choose, set up, charge, and use Suica/PASMO (physical and mobile), plus common pitfalls to avoid.
What are IC cards and why use them? 💳
- Contactless stored-value cards used for transport and small purchases
- Accepted nationwide across most major cities and rail networks
- Tap-in/tap-out convenience, no need to calculate fares in advance
- Works for trains, subways, many buses, vending machines, coin lockers, konbini, some restaurants and attractions
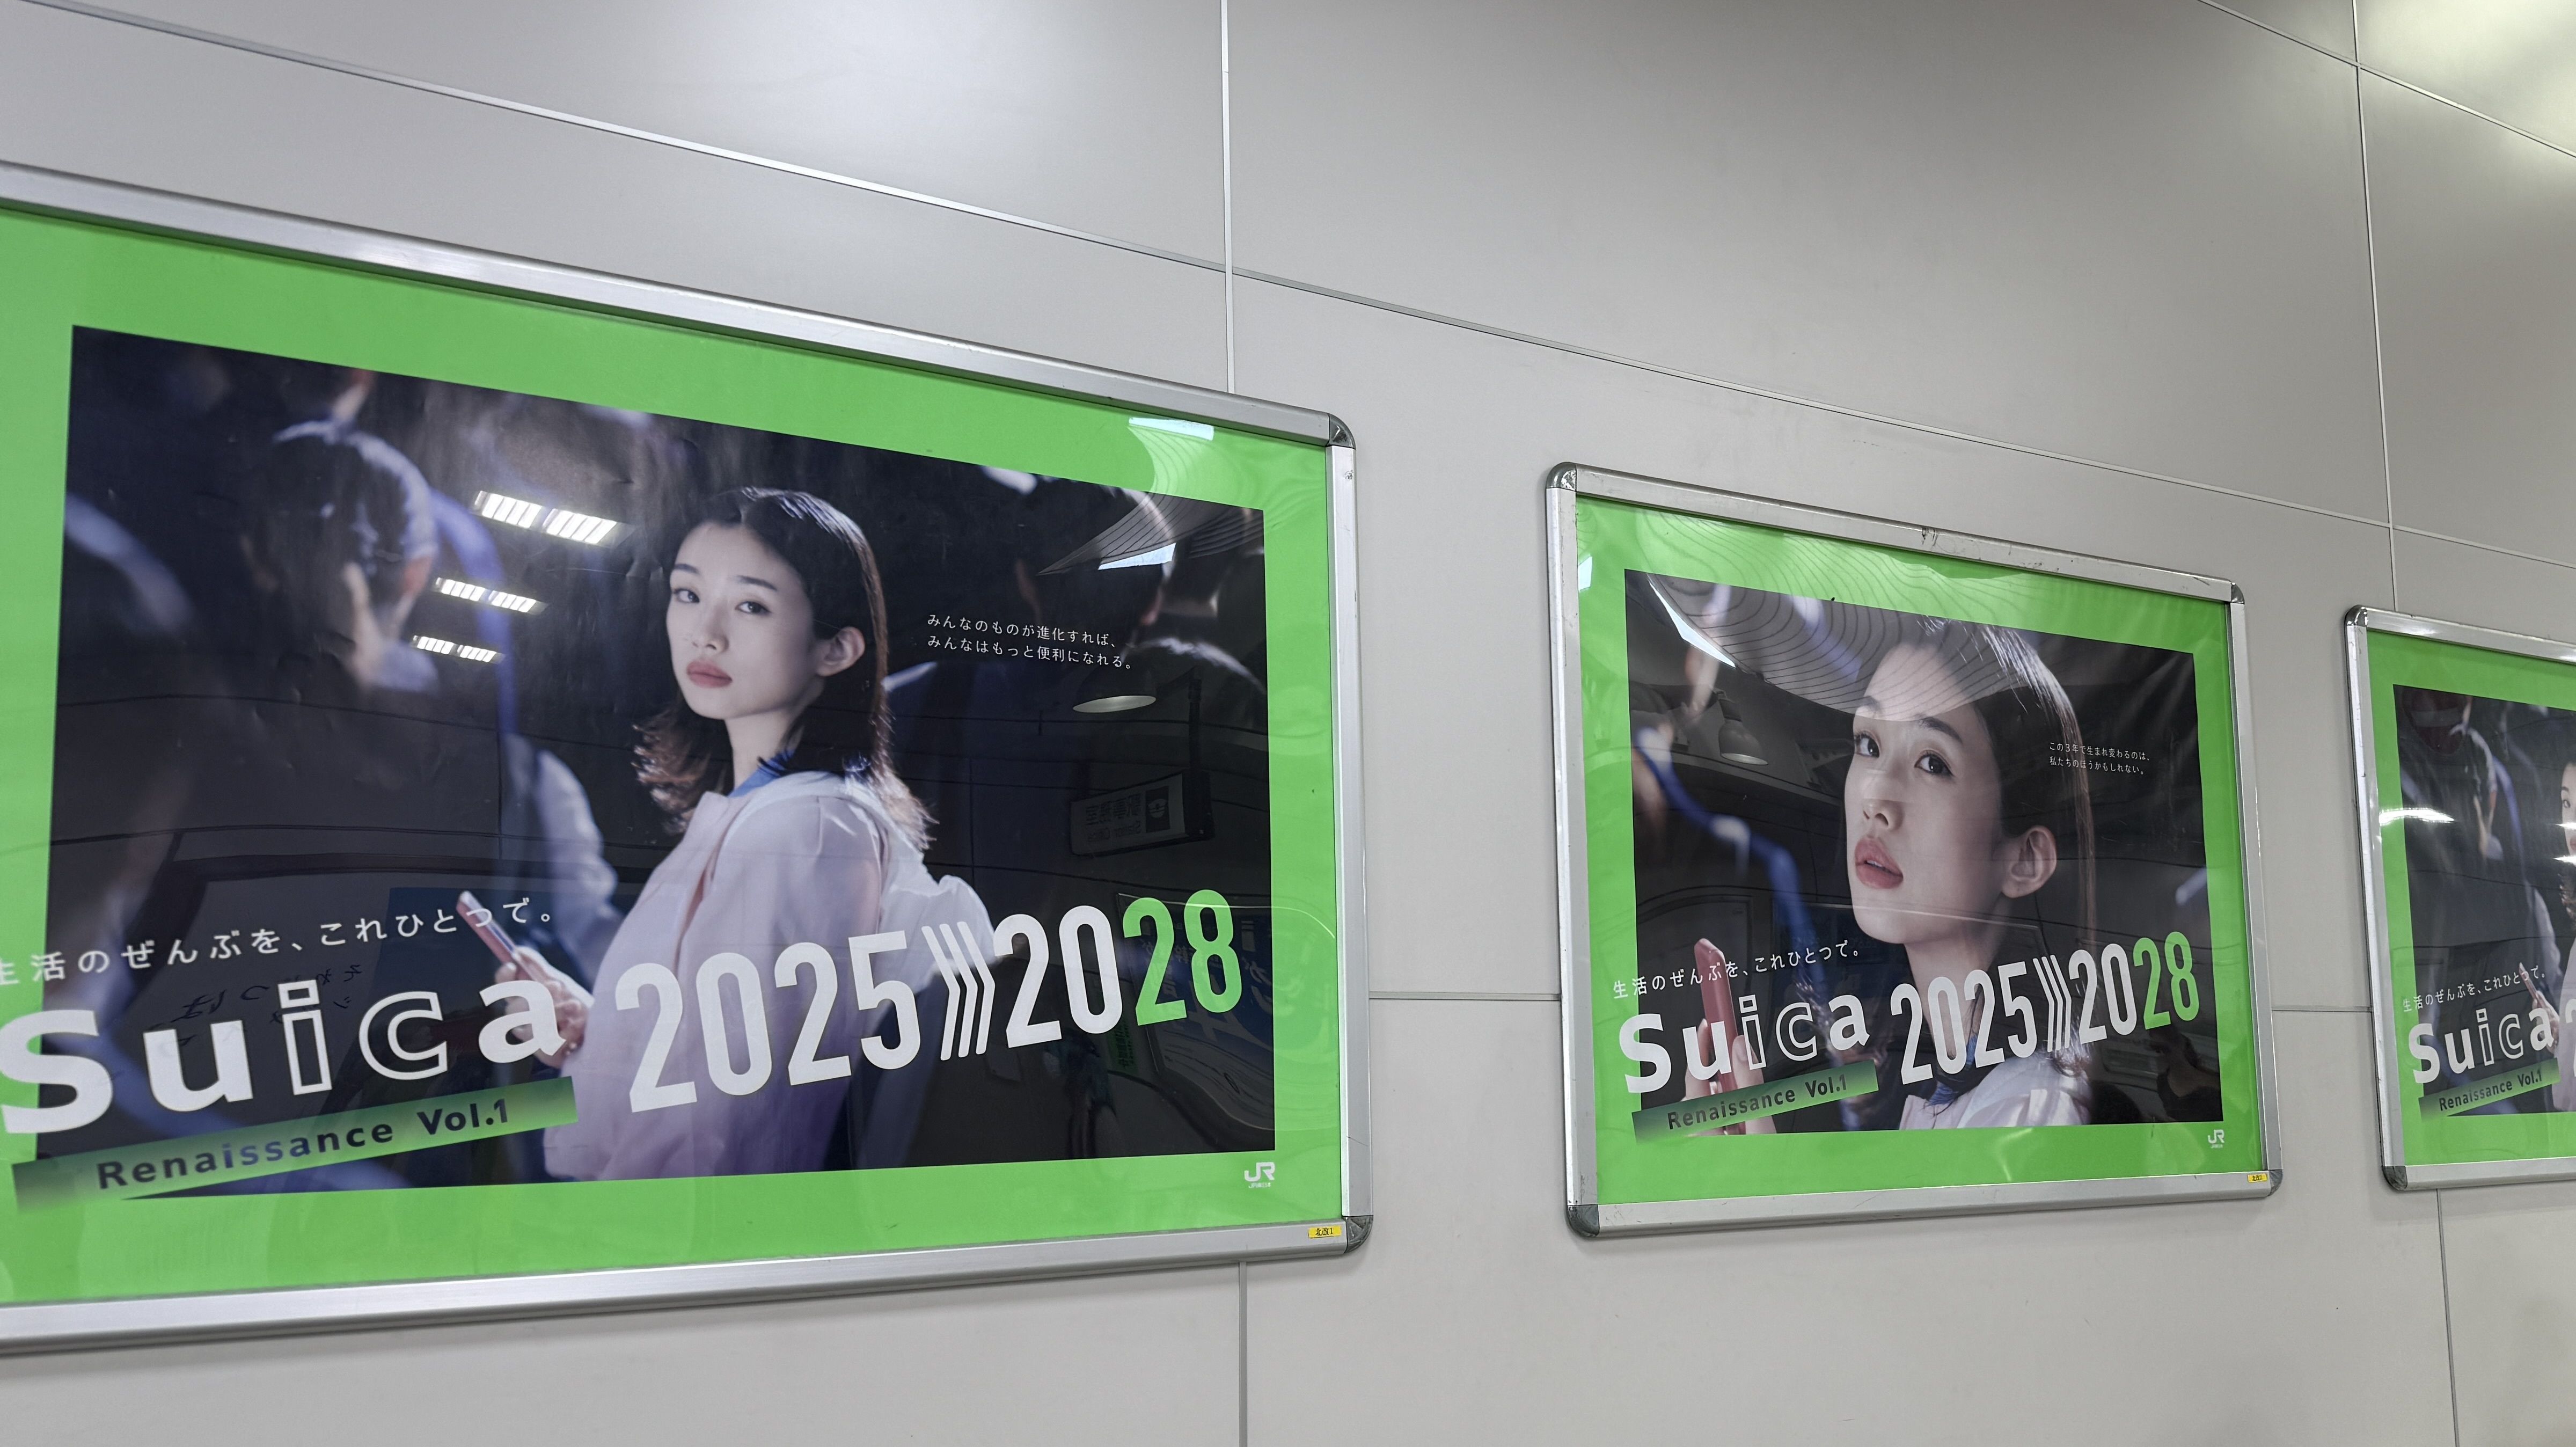
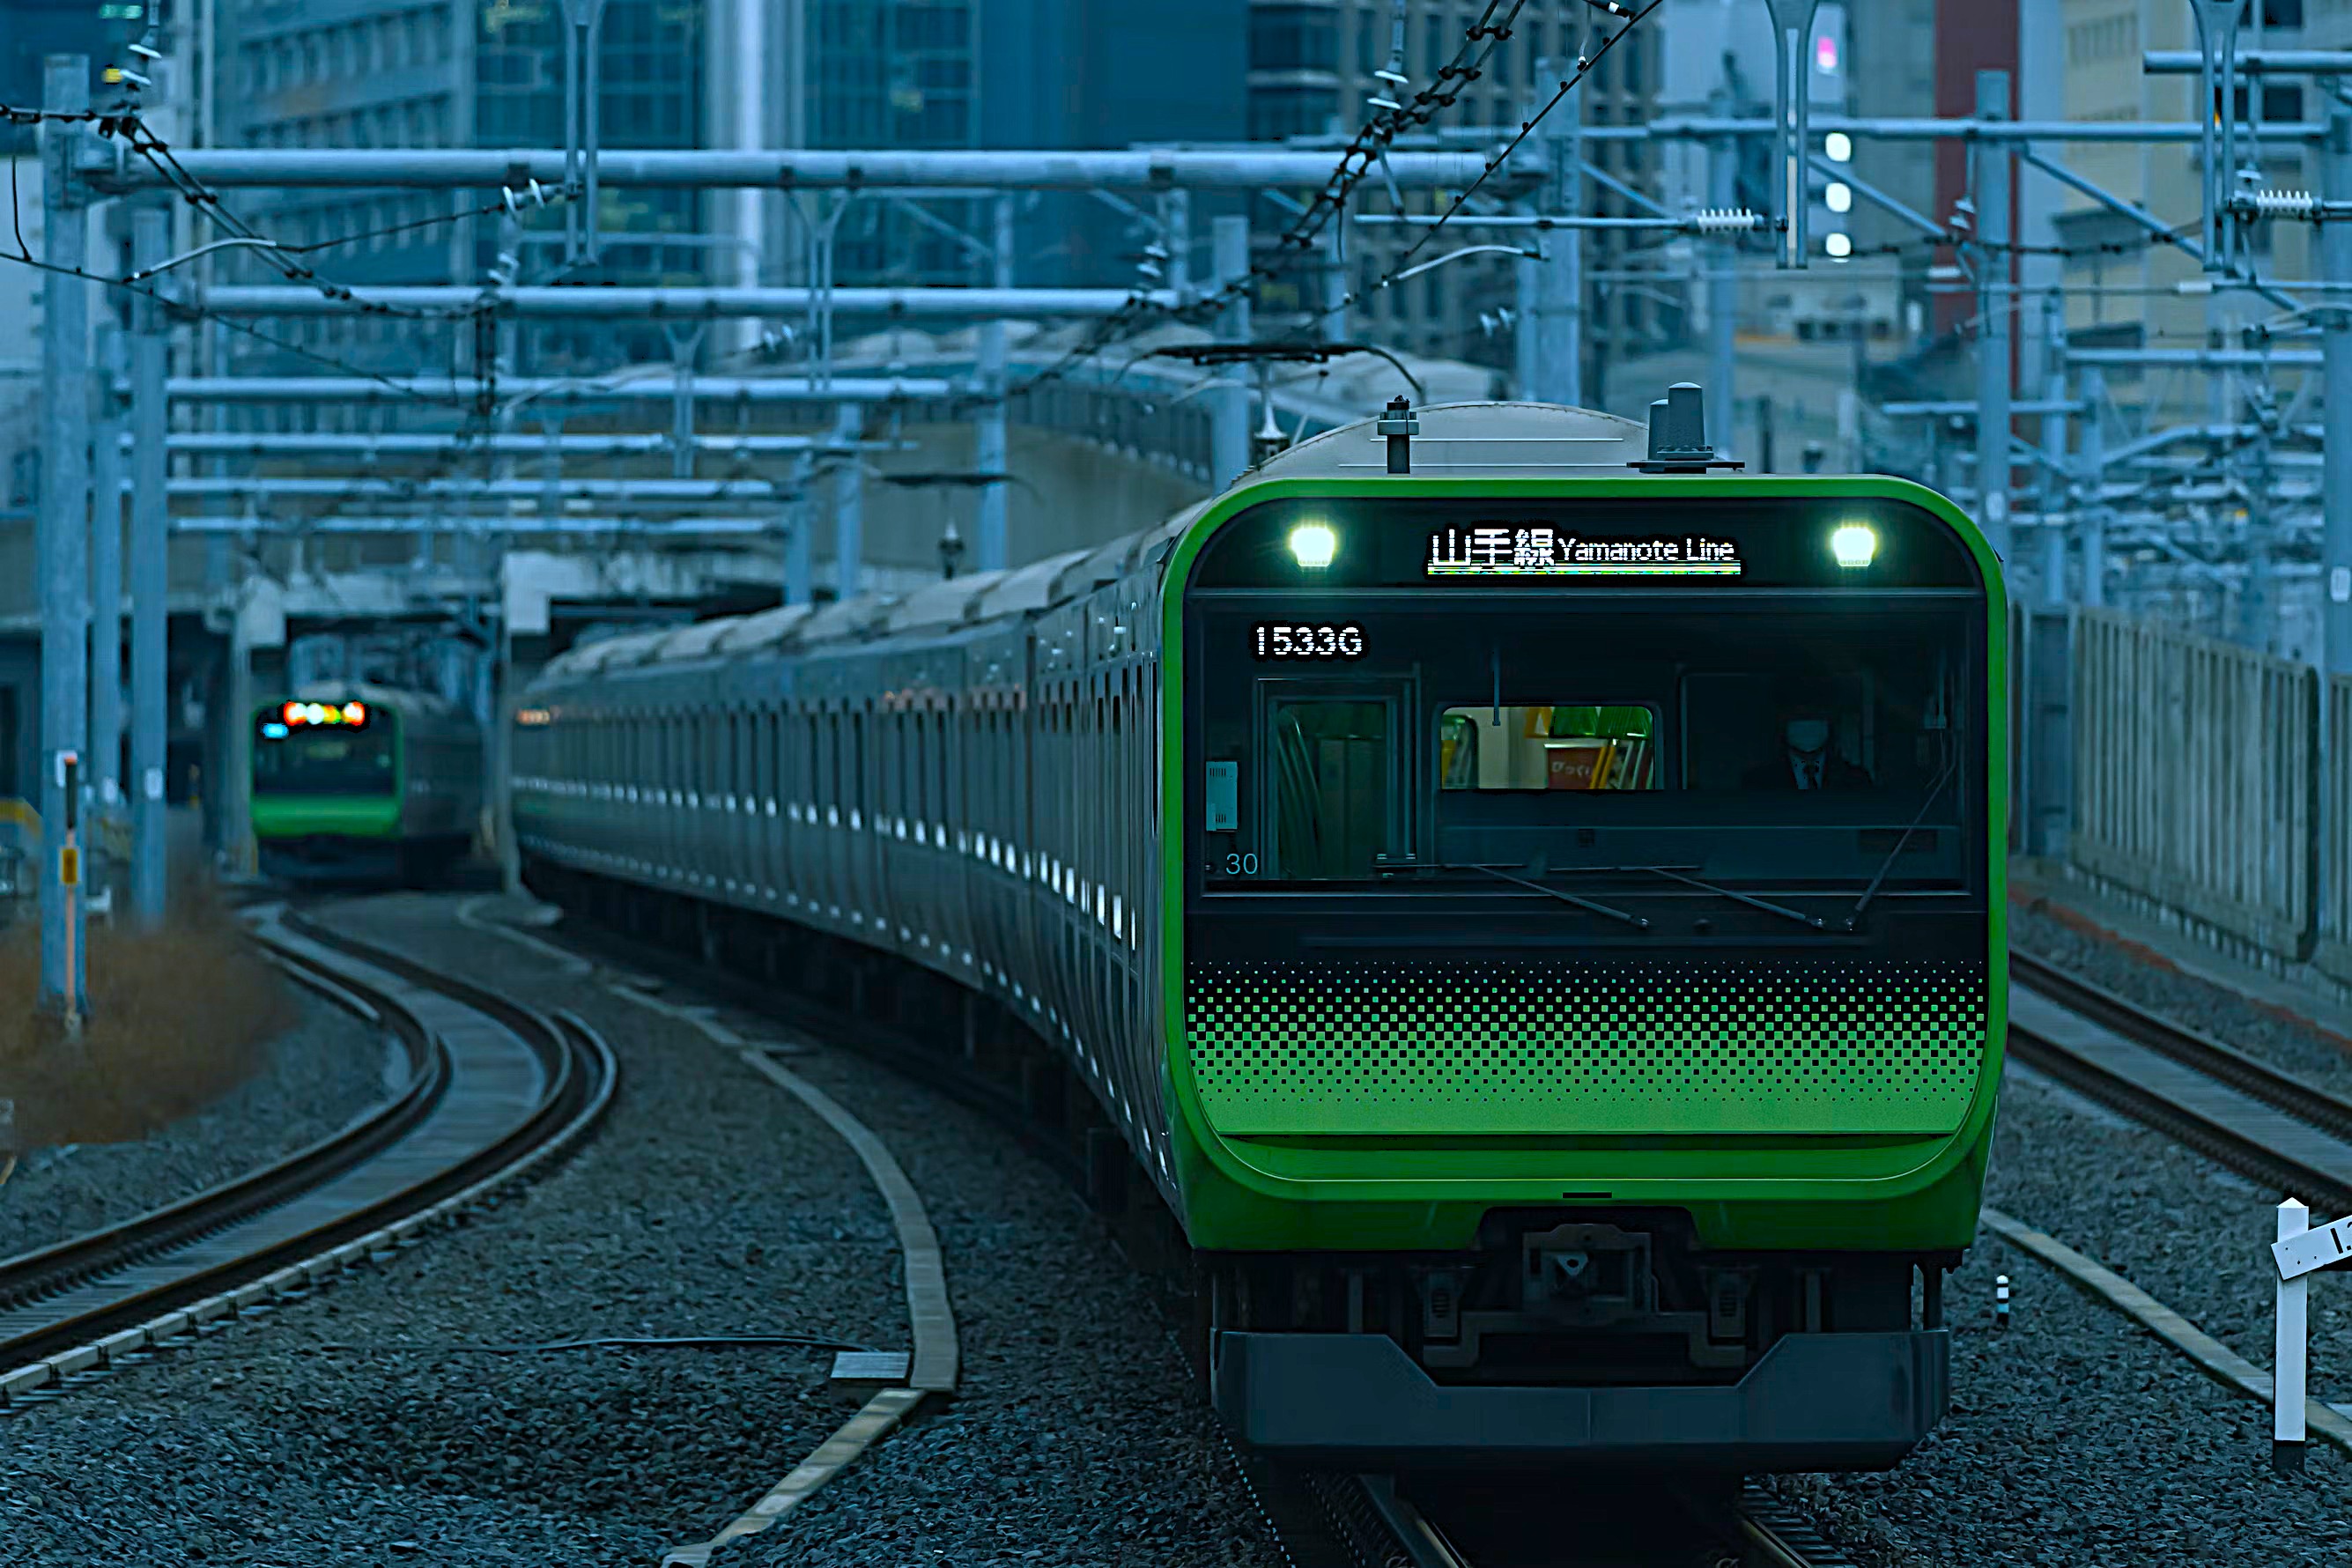
Suica vs PASMO: which should you get? 🚇
- Both work the same for visitors in Tokyo and can be used in most other regions
- Choose whichever is easiest to obtain where you are (JR stations often sell Suica; non‑JR stations sell PASMO)
- Your balance and auto‑charge settings (if enabled) are specific to the card you hold
Mobile Wallet options (recommended) 📱
Mobile IC is the easiest choice for many visitors because you can top up digitally and avoid losing a physical card.
- iPhone: Add Suica or PASMO directly in Apple Wallet (no physical card required). Set your transit card as Express Transit for tap‑to‑ride without Face ID/Touch ID.
- Android: Add Suica or PASMO in Google Wallet on NFC‑enabled devices. Enable contactless payments and set as default transit card.
- Benefits: No deposit to hold a plastic card, instant top‑ups with a saved card, easy to track balance and history
Tip: If you already have a physical card, you can usually transfer it into your phone (one‑way). Check your Wallet app for the “Add Existing Card” flow.
Where to buy a physical Suica/PASMO 🏧
- Airport train stations (Haneda, Narita) and major city stations
- Ticket machines with English support or staffed ticket counters
- Expect to pay a small initial cost that includes a refundable deposit plus your chosen starting balance
How to charge/top up 🔋
- Machines: Use ticket machines labeled Suica/PASMO; choose “Charge/Top‑Up.” Cash and often cards accepted
- Convenience stores: Ask the cashier to top up; show your card/phone and say the amount (e.g., “1000 yen, please”)
- Mobile: Add funds in Apple/Google Wallet using your saved payment method
Using your card on trains and buses 🚆
- Enter and exit: Tap the reader at the ticket gate when you enter and again when you leave; the system auto‑calculates the fare
- Transfers: Just tap through intermediate gates; the system keeps track
- Buses: Tap when boarding; some buses require tapping again when exiting
- Insufficient balance: Use Fare Adjustment (精算 seisan) machines before exiting if your balance runs out
Where IC cards are accepted beyond transit 🛍️
- Vending machines and coin lockers displaying the Suica/PASMO logo
- Convenience stores (7‑Eleven, FamilyMart, Lawson), many supermarkets and chain cafés
- Some attractions, museums, and restaurants
Interoperability across Japan 🔄
Your card should work in most major regions (Suica, PASMO, ICOCA, TOICA, manaca, Kitaca, SUGOCA, nimoca, Hayakaken networks). Local exceptions exist, but in practice, visitors can ride most urban systems with one card.
Important limitations to know ⚠️
- Shinkansen: IC cards generally don’t cover Shinkansen fares by default. Buy separate Shinkansen tickets or use the relevant apps/services
- Private limited‑express services may require a supplement/reserved‑seat ticket in addition to your IC tap
- Some rural buses and lines may be cash only
Balances, deposits, and refunds 💰
- Check balance: Look at the gate display after tapping, use machines, or check in your Wallet app
- Refunds: Physical cards can be refunded at issuing operators’ counters (deposit and remaining balance; handling fees may apply)
- Mobile cards: Follow the in‑app instructions to settle or delete the card if you need a refund/closure
Child cards and discounts 🧒
- Children’s IC cards are available with age verification and apply discounted fares automatically; set up at staffed counters
Lost cards and device issues 🔐
- Physical: Report to the issuer (e.g., JR for Suica) if you registered the card; unregistered balances generally can’t be recovered
- Mobile: Use your Apple ID/Google account to suspend or remove the card from a lost phone and re‑add to a new device
Airport specifics: Narita and Haneda ✈️
- Both airports have easy IC purchase and top‑up options at station areas
- IC cards work for airport access trains that accept IC entry; for premium/express products, buy the dedicated ticket as required
Example first‑timer setup (5 minutes) ⏱️
- Add Suica to Apple/Google Wallet and set as Express/Default transit
- Top up ¥2,000–¥3,000 to start
- Tap in at the station gate; tap out at your destination
- Use the same card for vending machines, lockers, and konbini
Common mistakes to avoid ❌
- Not tapping out: You’ll be charged a penalty or max fare; use Fare Adjustment
- Mixing multiple cards on one device: Pick one primary transit card to avoid confusion at gates
- Low battery on phone: Keep some charge; carry a small power bank so your mobile IC remains usable
- Expecting IC to cover all intercity trains: Buy separate tickets for Shinkansen and certain limited‑express services
Related guides 🔗
- Tokyo areas: [/posts/shibuya/], [/posts/ginza/], [/posts/akihabara/]
- Viewpoints & parks: [/posts/tokyo_tower/], [/posts/gyoen/]
- Regional ideas: [/posts/niigata/], [/posts/hokkaido/], [/posts/fukuoka/]
Using IC cards is the simplest upgrade you can make to your Japan trip: set it up once, keep it topped up, and tap your way around stress‑free.